amiga-joystick-rpi
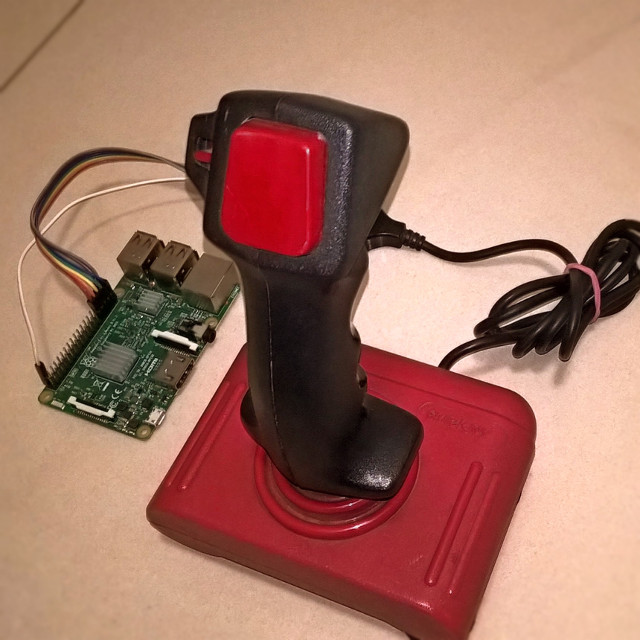
amiga-joystick-rpi is a set of scripts that can be used to connect an
original Amiga joystick with a Raspberry Pi.
It was originally written to be able to play Amiga games emulated with uae4all2 in RetroPie.
Connecting the joystick
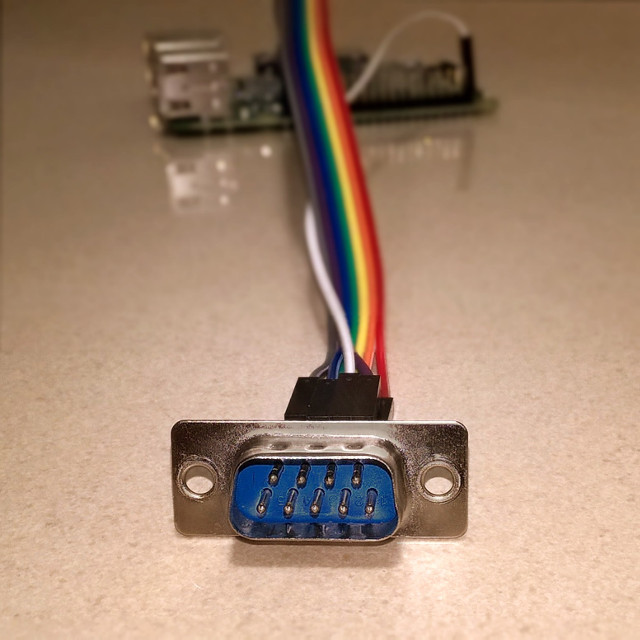
The Amiga joystick port uses a standard female DE-9 (aka serial port) connector. It is the only hardware element (besides a few wires) required to connect the joystick, but luckily it’s cheap and can be easily found in online shops.
The connector has 9 pins in two rows – 5 in the upper, 4 in the lower row. They are numbered from left to right, top to bottom (looking at the male joystick socket on the console/Raspberry):
- pin 1 – forward
- pin 2 – back
- pin 3 – left
- pin 4 – right
- pin 5 – not used
- pin 6 – button A (fire)
- pin 7 – power supply +5V
- pin 8 – ground
- pin 9 – button B
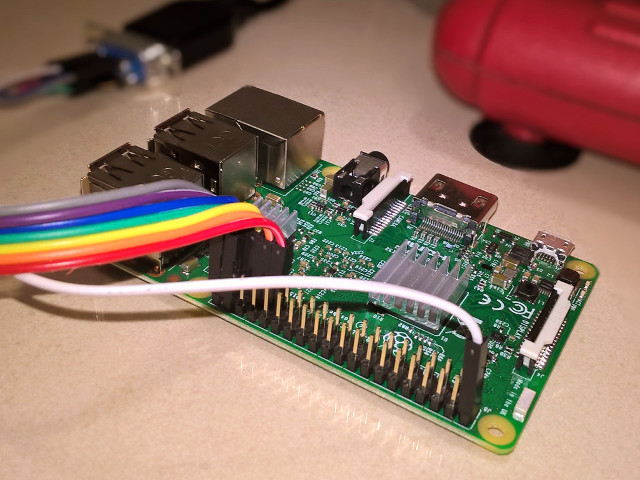
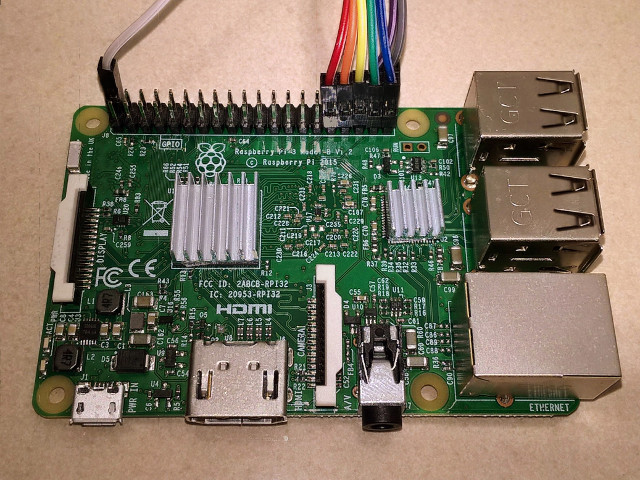
There are 6 data lines (4 directions and 2 buttons) – these need to be connected to the GPIOs. These data lines are normally not connected to anything (floating). Pressing a button or moving the joystick connects the corresponding data lines with the ground pin. For this reason it’s always necessary to have the ground pin connected to the ground pin on the Raspberry.
The original Amiga joystick socket also has a power supply pin (+5V). It can, but doesn’t have to be connected to the 5V pin on the Raspberry. Most joysticks work fine without a power supply, it is usually only needed for autofire.
As the data lines are normally floating, they must be pulled up. This is achieved by enabling the built in pull up resistors on the GPIOs – this is all handled by the script and no additional hardware elements (like external pull up resistors) are needed.
GPIO and key mapping
Here’s how the pins should be connected to GPIOs (BCM numbering) and what key presses they simulate when activated:
- pin 1 – forward – GPIO 6 – up arrow
- pin 2 – back – GPIO 13 – down arrow
- pin 3 – left – GPIO 19 – left arrow
- pin 4 – right – GPIO 26 – right arrow
- pin 6 – button A (fire) – GPIO 20 – left CTRL
- pin 9 – button B – GPIO 21 – left shift
This key mapping allows playing Amiga games using uae4all2.
The script can be easily adjusted to use different GPIOs or to trigger
different keyboard key presses. This can be done by simply updating the
CHANNELS mapping directly in the script.
Installation
Quick installation
The script can be automatically installed and configured to start on boot using the following command:
curl https://raw.githubusercontent.com/mlesniew/amiga-joystick-rpi/master/quick-install.sh | sudo bash
Manual installation
The script requires the RPi.GPIO and python-uinput Python modules to work.
Both can be installed from the official Raspberry OS Debian repositories:
sudo apt update
sudo apt install rpi.gpio python3-uinput
The script itself can be installed straight from GitHub:
# install the script in /usr/local/bin
sudo curl -o /usr/local/bin/amiga-joystick.py https://raw.githubusercontent.com/mlesniew/amiga-joystick-rpi/master/amiga-joystick.py

# ensure it's executable
sudo chmod +x /usr/local/bin/amiga-joystick.py
At this point the script is ready to be run:
sudo amiga-joystick.py
Additionally, a systemd config can be installed to run the script as a service in the background:
# download the service file
sudo curl -o /etc/systemd/system/amiga-joystick.service https://raw.githubusercontent.com/mlesniew/amiga-joystick-rpi/master/amiga-joystick.service

# make systemd reload configs
sudo systemctl daemon-reload

# enable automatic startup
sudo systemctl enable amiga-joystick

# start the script in background now
sudo systemctl start amiga-joystick

# verify it is running
systemctl status amiga-joystick
More Pictures